How to Record Professional Vocals at Home
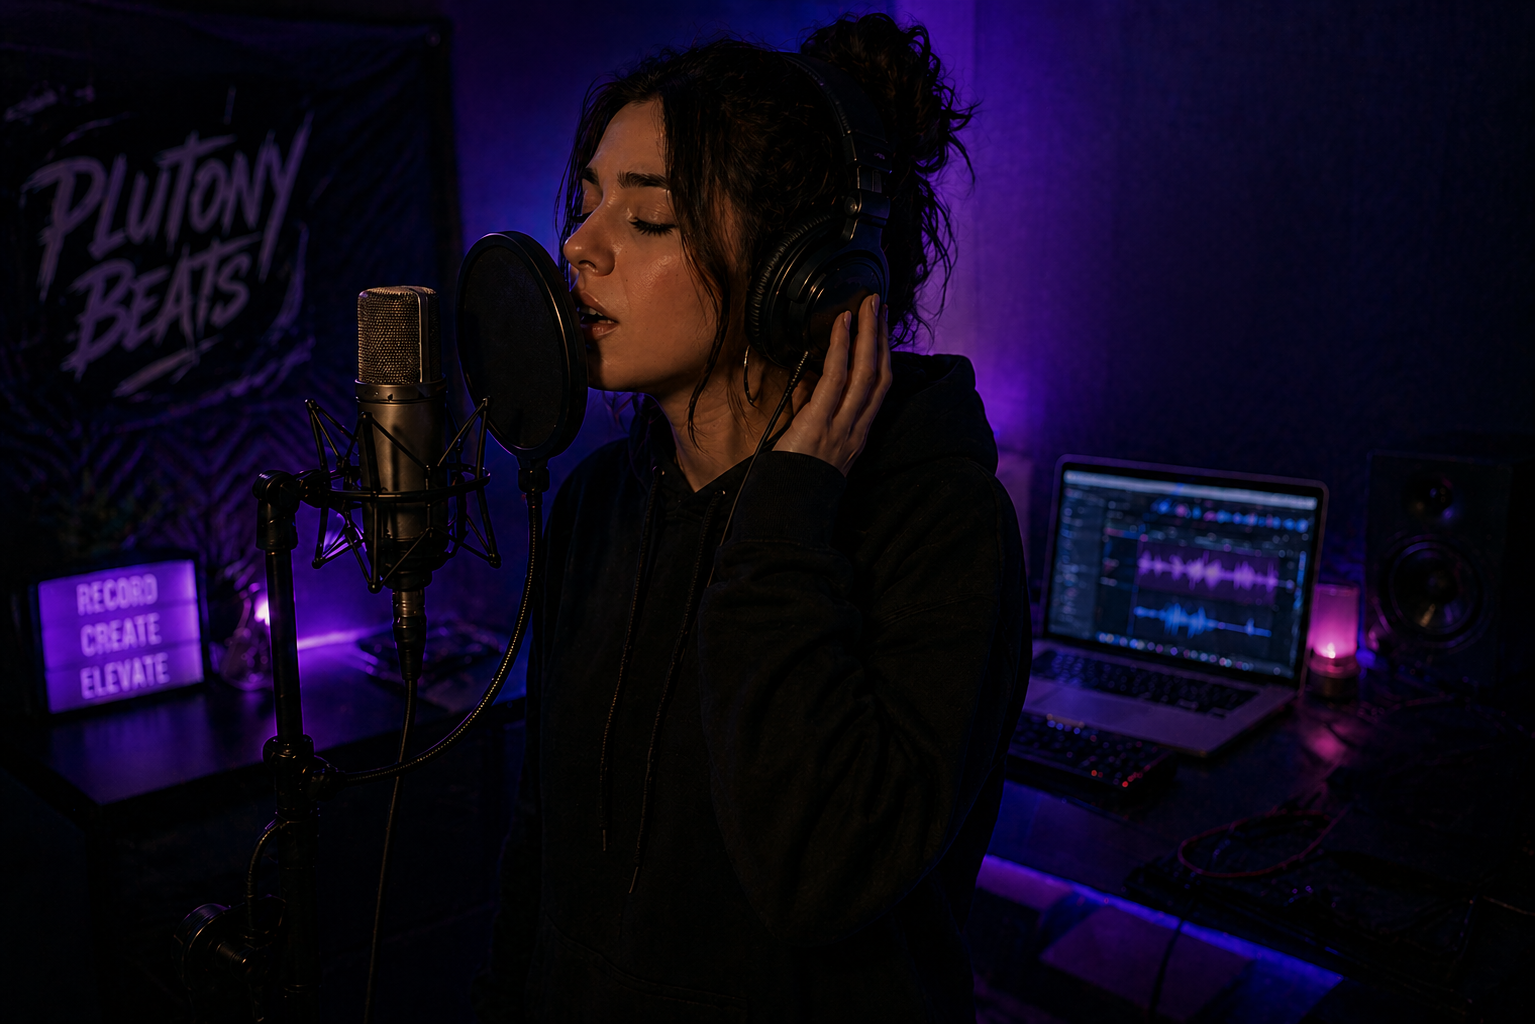
You have the beat. You have the lyrics. You hit record, play it back, and it sounds like you're rapping inside a tin can in a parking garage. The room echo, the harsh sibilance, the thin and distant quality — none of it matches the polished vocals you hear on your favorite tracks. This is the wall that every home recording artist hits, and the good news is that the solution is mostly technique, not money.
Here's what experienced audio engineers repeat constantly: most of a vocal mix's quality is decided before the first plugin ever opens. No plugin can save a bad take captured in an untreated room with poor mic placement. But a clean, well-recorded vocal captured with modest gear in a controlled bedroom will often beat a sloppy take recorded through expensive equipment in a bad space. If you still need the full gear-buying breakdown, start with Building Your Home Studio Under $500. This guide assumes you already have a basic setup and shows how to capture the clean lead vocal that every mix needs.
Choosing the Right Microphone for Your Space
The mic debate causes more forum arguments than almost any other topic in home recording, but the practical rule is simple: match the microphone to the room. A condenser gives you more detail, air, and sensitivity; a dynamic gives you more rejection and forgiveness when the room is noisy or untreated. If you already have a well-controlled space, a condenser can shine. If you are recording in a normal bedroom with hard walls, a dynamic mic will often give you a cleaner lead vocal with less cleanup later.
For the full gear comparison, including budget models and price ranges, use the home studio setup guide linked above. In this article, the bigger point is performance technique: once the mic is chosen, distance, angle, gain, and room control matter more than the logo on the body.
Treating Your Room on a Budget
Your room is your most important piece of gear, and treating it costs almost nothing.
Skip the thin foam panels from Amazon. Those egg-carton style sheets absorb high frequencies but do nothing for the mid and low frequencies that actually cause the boxy, echoey quality in bedroom recordings. The cheapest effective solution is heavy moving blankets ($15 to $20 each from many hardware stores). Hang them on cheap mic stands or curtain rods positioned around your recording spot — one behind you, one on each side. This makeshift vocal booth deadens the reflections your microphone picks up and costs under $60.
Position yourself away from walls and corners. Bass frequencies build up against flat surfaces and in corners, creating resonances that color your recordings in ways that are nearly impossible to fix with EQ. Stand at least three feet from any wall. Recording in the center of the room immediately improves vocal clarity without spending a cent.
If you want to go further, a reflection filter ($50 to $80) mounted behind your microphone blocks reflections from the wall behind the mic. Combined with blankets around and behind you, this creates a surprisingly dead recording environment that rivals many project studios.
Mic Technique: Position, Distance, and Angle
The way you stand in front of the microphone matters as much as which microphone you bought. Get this wrong and no plugin chain will save you.
Position your mouth four to six inches from the microphone capsule. Too close and you trigger the proximity effect, a bass buildup that makes your voice sound boomy and muffled. Too far and the vocal sounds thin and distant while the room reflections become more prominent relative to your direct voice.
Angle the microphone about 15 degrees off-axis, meaning you're not singing or rapping directly into the center of the capsule but slightly to the side. This reduces plosives (the explosive bursts of air from P and B sounds) and minimizes proximity effect without losing presence. Even with this technique, always use a pop filter. A basic mesh pop filter ($10 to $15) placed two to three inches in front of the mic catches the remaining plosive energy that would otherwise distort your recording.
Watch your physical movement. If you're an energetic performer who moves around while recording, you'll create massive volume inconsistencies as you drift closer and farther from the mic. Either train yourself to stay planted, or use a mic stand positioned so you can't lean in past a comfortable distance.
Gain Staging: The Free Upgrade
Gain staging is the single most overlooked technique in home recording, and it costs absolutely nothing. It's the difference between a recording that processes cleanly through every plugin and one that distorts unpredictably at every stage.
Set your audio interface input gain so your vocal peaks around -12dB to -18dB, not -6dB, not 0dB. Most beginners crank the gain because they want the waveform to look big on screen. But recording too hot leaves no headroom for your plugins. Compressors, saturators, and EQs all behave better when they receive a signal with room to breathe. A vocal recorded around -15dB average often processes cleaner than one recorded near -3dB.
On your audio interface, watch the input meter while performing at your loudest. The peaks should never touch the red. If they do, turn the gain knob down until you have consistent headroom. You can always increase the volume later in the mix, but you can never fix digital clipping after the fact.
The Recording Session Workflow
Before you hit record, run through this checklist.
- Close unnecessary applications on your computer to prevent CPU spikes and audio dropouts.
- Turn off your phone, fans, air conditioning, and anything else that raises the room noise floor.
- Set your DAW buffer size to 128 or 256 samples to minimize latency while monitoring through headphones.
- Record ten seconds of room tone before the first take so you know what noise your compressors will expose later.
Record multiple takes of every section after that quick setup pass. The professional approach is to capture three to five complete takes of each verse and hook, then "comp" the final vocal by selecting the best phrases from each take. This compositing technique is standard practice in every professional studio and produces a performance that sounds more polished than any single take could.
Monitor through closed-back headphones while recording, never through speakers. If you play the beat through studio monitors, the microphone picks up the instrumental along with your voice, creating bleed that is almost impossible to remove. The Sennheiser HD 280 Pro and Sony MDR-7506 are common closed-back tracking choices in roughly the $99 to $120 lane, with enough isolation to keep the beat out of the microphone.
Keep the headphone volume moderate. If you blast the beat in your ears, you will unconsciously rap louder and more aggressively than you need to, and the headphone spill can leak into the mic. A polished Plutony Beats instrumental gives you clarity and energy; your job during tracking is to record a vocal clean enough to sit inside that beat instead of fighting it.
After recording, spend time on "mix prep" before touching any plugins. Use clip gain to even out the loudest and quietest phrases. Manually cut silence, breaths, clicks, and any background noise between vocal phrases. This editing stage is tedious but critical. When your compressors and reverbs process a clean signal, they enhance the vocal. When they process a dirty signal full of noise and artifacts, they amplify every flaw.
Common Recording Mistakes
Holding the microphone instead of using a stand introduces handling noise, low-frequency rumble from your grip, and inconsistent distance as you move your hand. Always use a boom arm or mic stand with a shock mount, even if the performance feels less dramatic in the moment.
Ignoring the recording environment's noise floor will haunt your mix. The ten seconds of room tone from your checklist is not just a formality: that hum, hiss, or distant traffic will be amplified by every compressor in your vocal chain. Address noise sources before recording rather than trying to remove them with plugins later.
Finally, do not treat pitch correction as a magic repair tool for a weak performance. If the take is emotionally right but slightly unstable, light correction can happen early in the cleanup stage before heavy EQ, compression, and effects. For a deeper breakdown of when to use transparent correction versus a hard-tune effect, use the companion guide Autotune for Beginners.
A professional vocal recording does not require expensive gear. It requires a controlled space, proper mic technique, clean gain staging, and disciplined session workflow. For your next session, choose a Plutony Beats instrumental, record one clean lead take using the four-to-six-inch distance rule and -12dB to -18dB peak range, then compare it against an older take before touching any plugins.
Once the recording is clean, move to Mixing Vocals at Home for the next step. If the lead vocal already sounds close before processing, the mix will stop fighting you and start enhancing what is already there.
Found your sound?
Browse premium beats crafted for artists like you.
Tags
Related Posts
Autotune for Beginners: When and How to Use It
Learn how autotune works, how to dial in the right settings for rap vocals, and when using it will actually hurt your sound.
How to Record Doubles, Adlibs, and Backing Vocals
Learn pro techniques for vocal doubles, adlibs, and backing vocals — the layers that make rap tracks sound polished, wide, and full.
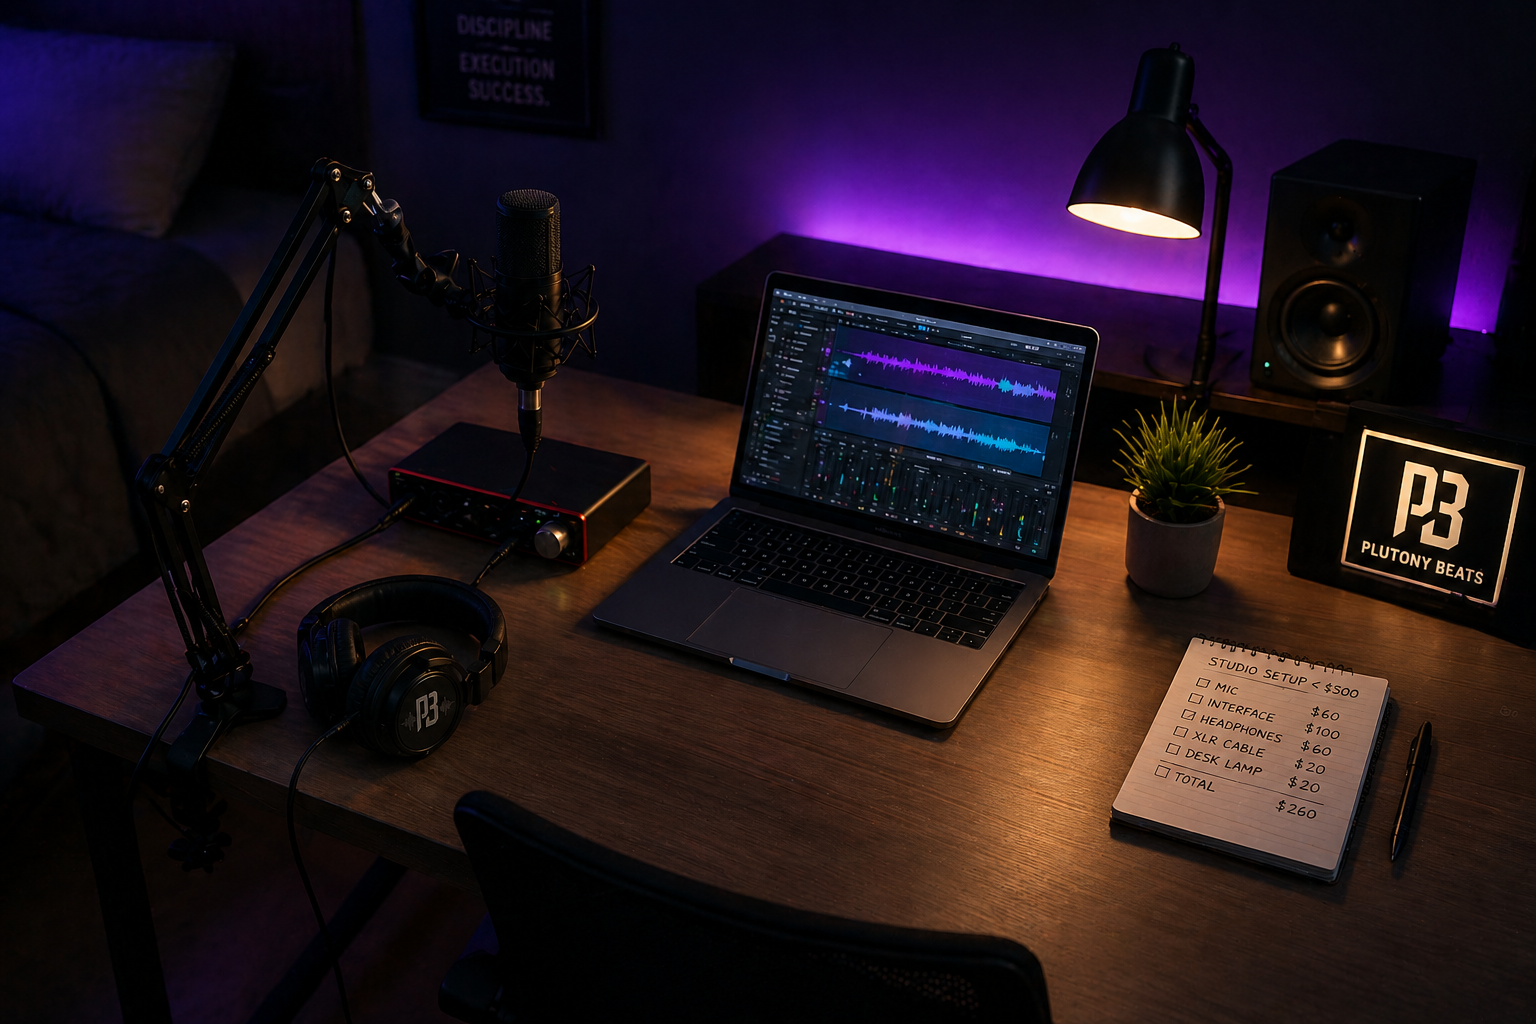
Building Your Home Studio Under $500
Home studio setup cheap: the exact gear, DAW, and acoustic treatment you need to record professional vocals for under $500.